In a nutshell
- ☕ A ceramic mug’s unglazed foot acts like a fine abrasive (roughly 800–2000 grit) because of hard aluminium oxide (near Mohs 9), delivering rapid micro-abrasion that refreshes a dull edge.
- 🔪 Method: Stabilise the mug, hold the blade at 15–20°, use light pressure, make 6–10 edge-leading strokes per side, alternate to control the burr, then deburr and strop on cardboard or leather.
- 🧭 Best use: Quick maintenance between full sharpenings; great for everyday chef’s knives. Not for serrated or ceramic knives, deep chips, or heavy re-profiling—use water stones or a pro instead.
- ⚡ Results: A fast, zero-cost tune-up that restores bite in minutes, preserves edge life, improves safety and efficiency, and works at home, in rentals, or outdoors.
- 🛡️ Safety and care: Secure the mug on a damp towel, keep fingers clear, avoid the glazed ring, and clean swarf to maintain bite; rely on consistency, not pressure.
Kitchen knives lose their bite slowly, then all at once. Tomatoes crush, onions skid, and dinner drags. Here’s the good news: a simple trick revives an edge in under a minute. Flip a ceramic mug, find the rough unglazed ring on its base, and treat it like a miniature whetstone. The science holds, the results surprise, and the method costs nothing if you’ve got crockery to hand. Used correctly, a mug can restore a dulled edge to lively sharpness fast, safely, and with minimal metal removed. Below, we unpack why the hack works, how to do it precisely, and when to reach for proper stones instead.
How a Humble Mug Becomes a Sharpener
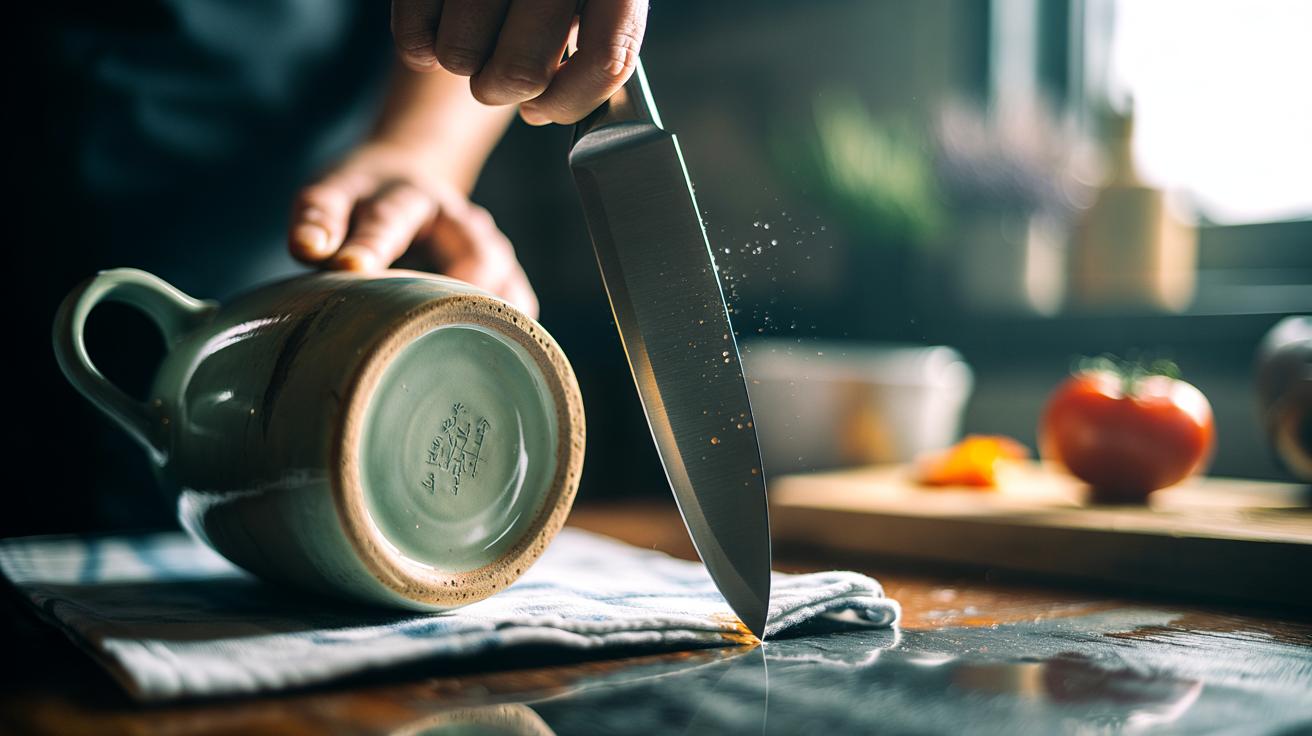
Most mugs are made from vitrified ceramic rich in aluminium oxide (alumina). On the Mohs hardness scale, alumina sits near 9, far harder than common kitchen steels. That rough, unglazed foot on the mug’s underside functions like a fine abrasive. Glide a blade along it and microscopic peaks abrade the steel’s edge, knocking away fatigued metal and re-forming a crisp apex. In practical terms, the mug acts as a fine stone, often equivalent to roughly 800–2000 grit depending on the clay body and firing.
What actually sharpens a knife is the meeting of two polished planes at a vanishingly small line. Over time these planes roll and fray; the edge deforms, a burr builds, and cutting drags. The ceramic surface re-flattens the bevels and removes that burr. It’s not magic. It’s controlled micro-abrasion. Because ceramics resist wear, they abrade not just the steel matrix but also common carbides found in modern alloys. That’s why the effect is immediate. One caveat: mugs vary. Some are glassy-smooth; some are gritty and fast-cutting. Test with a light pass and inspect before committing to full strokes.
Step-by-Step: Sharpen a Knife on a Mug
Stabilise the mug upside down on a damp tea towel so it won’t slip. Hold the knife at a consistent angle of about 15–20 degrees to the unglazed ring. Starting at the heel, draw the blade to the tip in a smooth arc, edge leading, as if slicing a thin layer from the mug. Use light pressure; let the ceramic do the work. Six to ten strokes per side is usually enough for a dull but intact edge. Alternate sides to keep the bevels even and prevent a stubborn wire burr.
Check progress. Feel very gently for a burr with a fingertip moving from spine to edge, not along the edge. If you can’t feel it, try a paper test; a sharp edge will bite and cut cleanly. Deburr by giving two or three feather-light alternating passes, then strop on cardboard or a strip of leather. Wipe, rinse, and dry the knife. For safety, keep your guiding fingers well above the edge and never push toward them. Avoid the glazed part of the mug; it’s too smooth and can glaze over the edge rather than sharpen it. Three minutes, minimal effort, and your slicing improves dramatically.
When to Use It—and When Not To
The mug method shines as a maintenance sharpen. It’s ideal for busy midweek tune-ups, camping, rentals, or when your stones are packed away. Stainless chef’s knives, petty knives, and carbon-steel workhorses respond well. It will not rescue severely chipped or blunted blades, and it’s wrong for serrated or ceramic knives. Very hard, brittle steels (treated to high HRC) can micro-chip if you press too hard or use a mug with aggressive grit. If the edge is truly gone or damaged, step up to a full progression of stones or a professional service.
For clarity, here’s a quick guide to fit, grit, and expectations:
| Surface | Approx. Grit | Best For | Avoid |
|---|---|---|---|
| Unglazed mug foot | ~800–2000 | Routine touch-ups, removing light burrs | Chips, re-profiling, serrations |
| Fine ceramic rod | ~1200–2000 | Daily honing, refining finish | Heavy metal removal |
| Water stone (coarse/medium) | ~400–1000 | Repair, re-setting bevels | Quick on-the-fly fixes |
Keep the mug clean; metal swarf can clog the surface and reduce bite, so scrub with a scouring pad. Don’t chase mirror finishes here—chasing polish wastes time and can round the apex. Focus on consistency, angle, and light pressure. Used as a stopgap, a mug preserves your knives between proper sharpenings, extending edge life and preserving steel.
There’s a quiet satisfaction in restoring a blade with everyday kit. The ceramic mug trick won’t replace a full stone progression, but it earns its place as a reliable, zero-cost tune-up that keeps dinner moving and fingers safe. Respect the angle, keep strokes light, and know when to escalate to proper abrasives. Sharp is safe; sharp is efficient. With one humble mug and a bit of practice, your kitchen cuts change overnight. What knife in your drawer would benefit most from a 90-second date with ceramic—and what will you slice first to prove it worked?
Did you like it?4.5/5 (25)